
A production standard is not a rule that makes every video look the same. It is a dependable baseline that prevents avoidable failures: cropped faces, unreadable captions, hollow speech, mixed frame rates, missing masters and exports that collapse after upload. This guide gives solo creators and small teams a practical baseline for Instagram Reels and TikTok while leaving room for documentary, tutorial, comedy, product and cinematic styles.
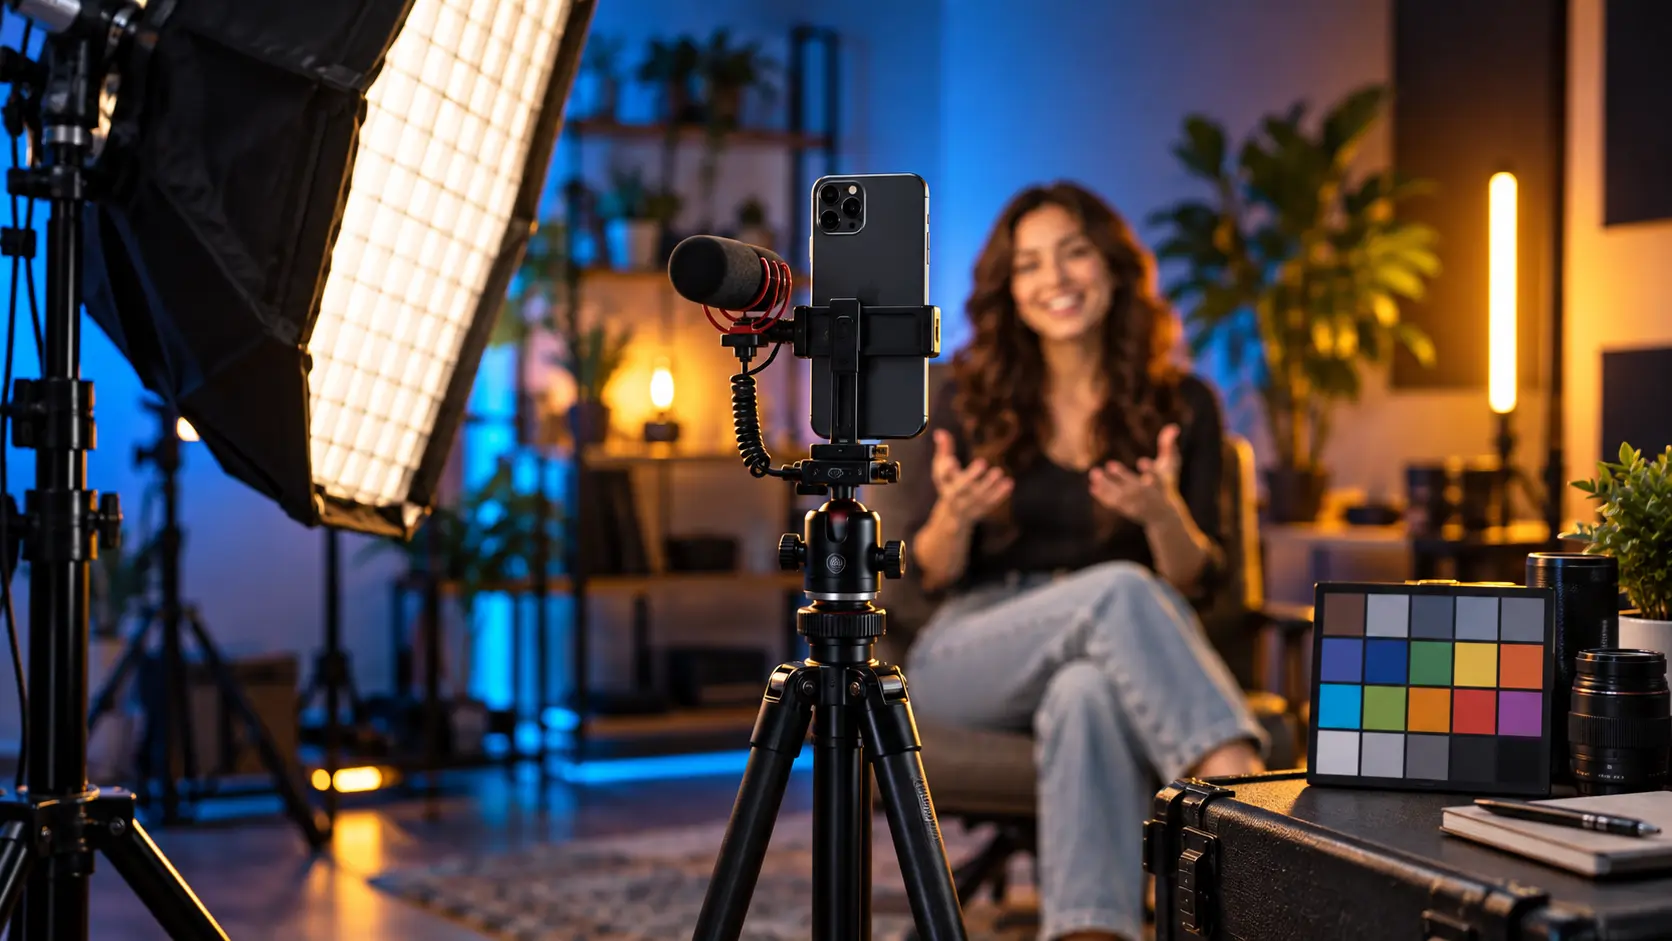
Define the deliverable before recording
“A vertical video” is not a complete brief. Record the destination, intended audience, target duration range, language, caption responsibility, publication account, due date, review process and whether the piece may become paid media. Decide whether the same clean master will feed both Instagram Reels and TikTok or whether each version needs different pacing, music or calls to action.
Write the viewer outcome in one sentence. A tutorial should name the task; a comparison should name the decision; a case study should name the question its evidence helps answer. This keeps technical choices subordinate to communication. Recording in high resolution cannot rescue a video that never decided what to show.
List required evidence. For a lighting tutorial, that might be a wide setup, close-up of lamp position and matched before-and-after. For a product demonstration, it could include packaging, scale, operation and result. Film these required shots before decorative B-roll.
Create a rights note beside the brief. Identify music, people, locations, products and outside assets. The Video Rights and Permissions Center provides the full clearance workflow. A technically perfect export still fails if the intended publication exceeds its permissions.
Compose for a vertical canvas
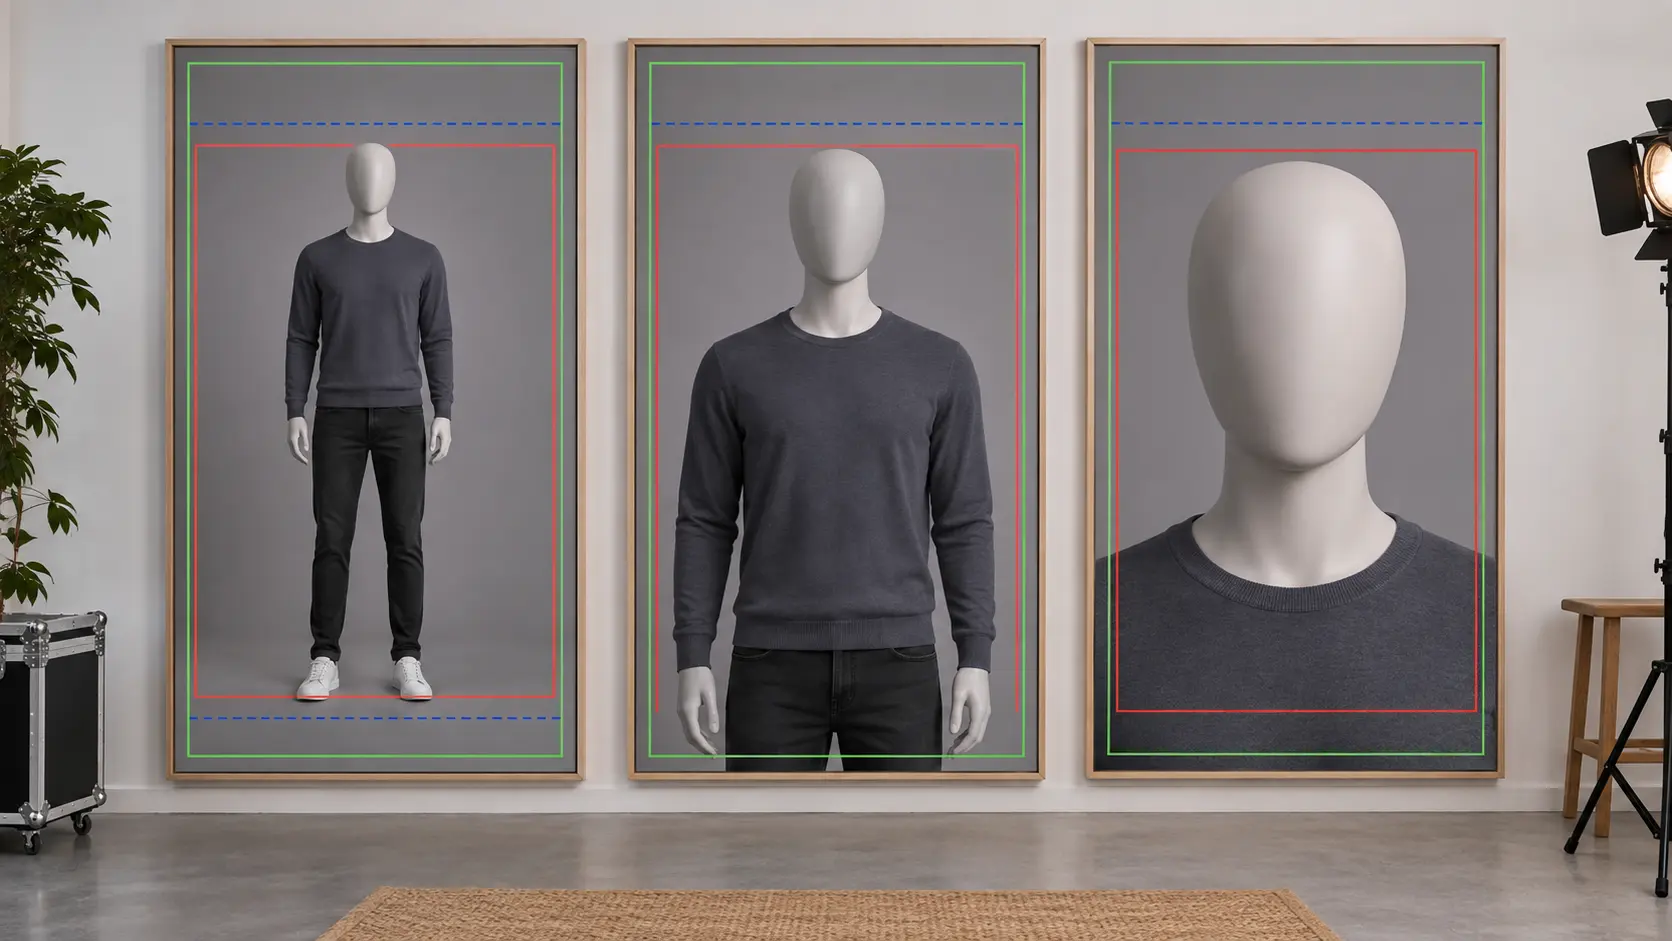
A 9:16 frame rewards deliberate vertical layers. Place the main subject where it remains readable when interface elements occupy the top, bottom or sides. Platform overlays change, so preview inside current applications and keep essential text away from edges. Treat safe areas as a tested project setting, not a number copied forever from an old graphic.
Use foreground, subject and background to create depth. A person pressed against a blank wall can feel flat; moving them forward and shaping the background light may add separation without expensive gear. For demonstrations, prioritize the working area. Hands, tools and results should not fight decorative objects for space.
Headroom depends on shot size and movement. Lock a little more room when a subject gestures or captions sit low. In close-ups, intentional crops can feel strong, but accidental cuts through chin, fingertips or the object being demonstrated feel careless. Record a slightly wider safety take when the video may be repurposed.
Design covers separately from the first video frame when needed. Profile grids and recommendation surfaces can crop covers differently. Keep the focal subject central and test multiple previews using the method in the crop-safe Reel cover guide.
Set a camera baseline
Use the best camera you can operate consistently. A phone with clean optics, locked exposure and controlled light often beats a more complex camera used hurriedly. Clean the lens, disable distracting notifications, confirm storage and power, and record a short test that you watch at full size.
Match resolution and frame rate across the primary cameras when practical. Choose frame rate for motion and delivery rather than imagined algorithm preference. Talking tutorials usually benefit from a natural cadence; fast action or intentional slow motion may require a different capture rate. Mixing rates carelessly can create duplicated frames or uneven motion.
Lock focus and exposure when automatic changes would be visible. Auto settings are useful when distance and light vary, but test how the device reacts. Avoid digital zoom when moving closer or changing lenses produces a cleaner result. If multiple lenses differ in color or sharpness, record comparison clips before the full shoot.
White balance should stay stable within a scene. Mixed daylight and warm household lamps can produce difficult skin tones. Either control one source, match their color or use the difference intentionally. A neutral reference at the start of a setup helps later correction.
| Decision | Baseline | Change it when | Failure to check |
|---|---|---|---|
| Orientation | Native 9:16 capture | A wider master is genuinely required | Critical action cropped |
| Frame rate | One consistent delivery cadence | Motion or slow motion justifies it | Judder or repeated frames |
| Exposure | Protect important highlights and faces | Lighting changes during the shot | Brightness pumping |
| Focus | Lock for fixed demonstrations | Subject distance changes | Focus hunting |
| White balance | Stable per scene | A deliberate color transition occurs | Skin tone shifts |
Control light consistently
Begin by observing existing light. Turn off sources that create unwanted color or flicker. Position the subject relative to the largest controllable source, then add a lamp, reflector or negative fill only when it solves a visible problem.
Soft light is created by a large source relative to the subject, not by a product label. Move diffusion closer while keeping it outside the frame, and watch reflections in glasses, screens and glossy packaging. A small change in height or angle can remove glare without flattening the scene.
Separate subject and background through brightness, color, depth or texture. You do not need all four. Check the image in grayscale to see whether the subject merges with the background. Avoid colored practical lights merely because creator videos often use them; every source should support the subject or mood.
Test flicker at the intended shutter and frame rate, especially with inexpensive LEDs and screens. Record several seconds and inspect it. Flicker that seems invisible to the eye may appear as bands on camera. Daylight also changes during long batches, so group matching shots close together.
Capture speech clearly
Viewers tolerate imperfect images longer than speech they cannot understand. Move the microphone closer before buying a more expensive one. Distance increases the proportion of room reflections and environmental noise. Hide or frame a microphone deliberately rather than placing it far away for appearance.
Monitor with headphones. Listen for clothing rub, air conditioning, traffic, electrical hum and clipping. Record a strong but unclipped signal and leave room for sudden emphasis. Automatic level control can help in changing conditions but may raise noise during pauses; understand what the device is doing.
Reduce room echo with placement and absorption. Curtains, rugs, furniture and moving blankets can help, but they must be positioned where reflections matter. The hollow voice troubleshooting guide explains how to distinguish distance, reflections and processing problems.
Capture room tone and specific natural sounds. Room tone fills small edits more naturally than digital silence. A clean button click, brush stroke or package opening can carry a demonstration, but never manufacture a misleading product result.
Plan coverage and continuity
Coverage gives the editor choices that still belong to one action. Record a wide context, medium action and close detail. Add a result and reaction only when they matter. For solo work, the six-shot B-roll coverage system offers a practical sequence.
Maintain direction, prop position, wardrobe and progress through the task. Photograph the setup between takes. If a cup changes hands or an object returns to its unopened state, the edit can feel discontinuous even when viewers cannot name the problem.
Let actions cross the cut. Begin the motion in one shot and finish it in the next. This creates a motivated transition. Record handles at the beginning and end of each take so the editor is not forced into abrupt cuts.
Do not collect random B-roll as insurance. Every supporting shot should establish, demonstrate, compare, transition or provide evidence. More footage increases storage and review time; useful coverage reduces uncertainty.
Edit for comprehension
Build the first cut without transitions or decorative graphics. Verify that the story works, the promised result appears and every claim has suitable evidence. Remove duplicated speech, but allow enough time for a viewer to inspect comparisons.
Use text to clarify names, steps and values that would otherwise be missed. Do not place paragraphs over moving imagery. Maintain consistent type, capitalization, margins and contrast. Avoid flashing or motion that competes with the subject.
Normalize color and audio before adding a stylistic grade. Match adjacent shots, protect natural skin tone and check shadow detail on a phone screen. Heavy sharpening, saturation or noise reduction often becomes harsher after platform compression.
Keep a version history. Export review copies with clear numbers and record requested changes. “Final-final” names create mistakes when sponsors or clients approve an older file. A change log can be a two-column note: version and material differences.
Caption accessibly
Transcribe meaning accurately. Automatic captions are a starting point, not a final check. Correct names, accents, technical terms, prices and negations. “Do” becoming “don’t” changes the instruction.
Synchronize captions with speech and break lines at natural phrases. Give viewers enough time to read. Keep text away from interface controls and maintain contrast over changing backgrounds, using a restrained backing shape or shadow where necessary.
Include meaningful non-speech audio when it contributes: a timer beep, door slam or change in machine sound. The W3C caption resource explains the accessibility purpose. Captions also help in noisy and sound-off environments, but accessibility should not be reduced to a growth trick.
Describe essential visual information in narration or surrounding copy when a blind viewer would otherwise miss the point. Avoid conveying a distinction through color alone. Accessibility is strongest when planned before filming, not patched onto the export.
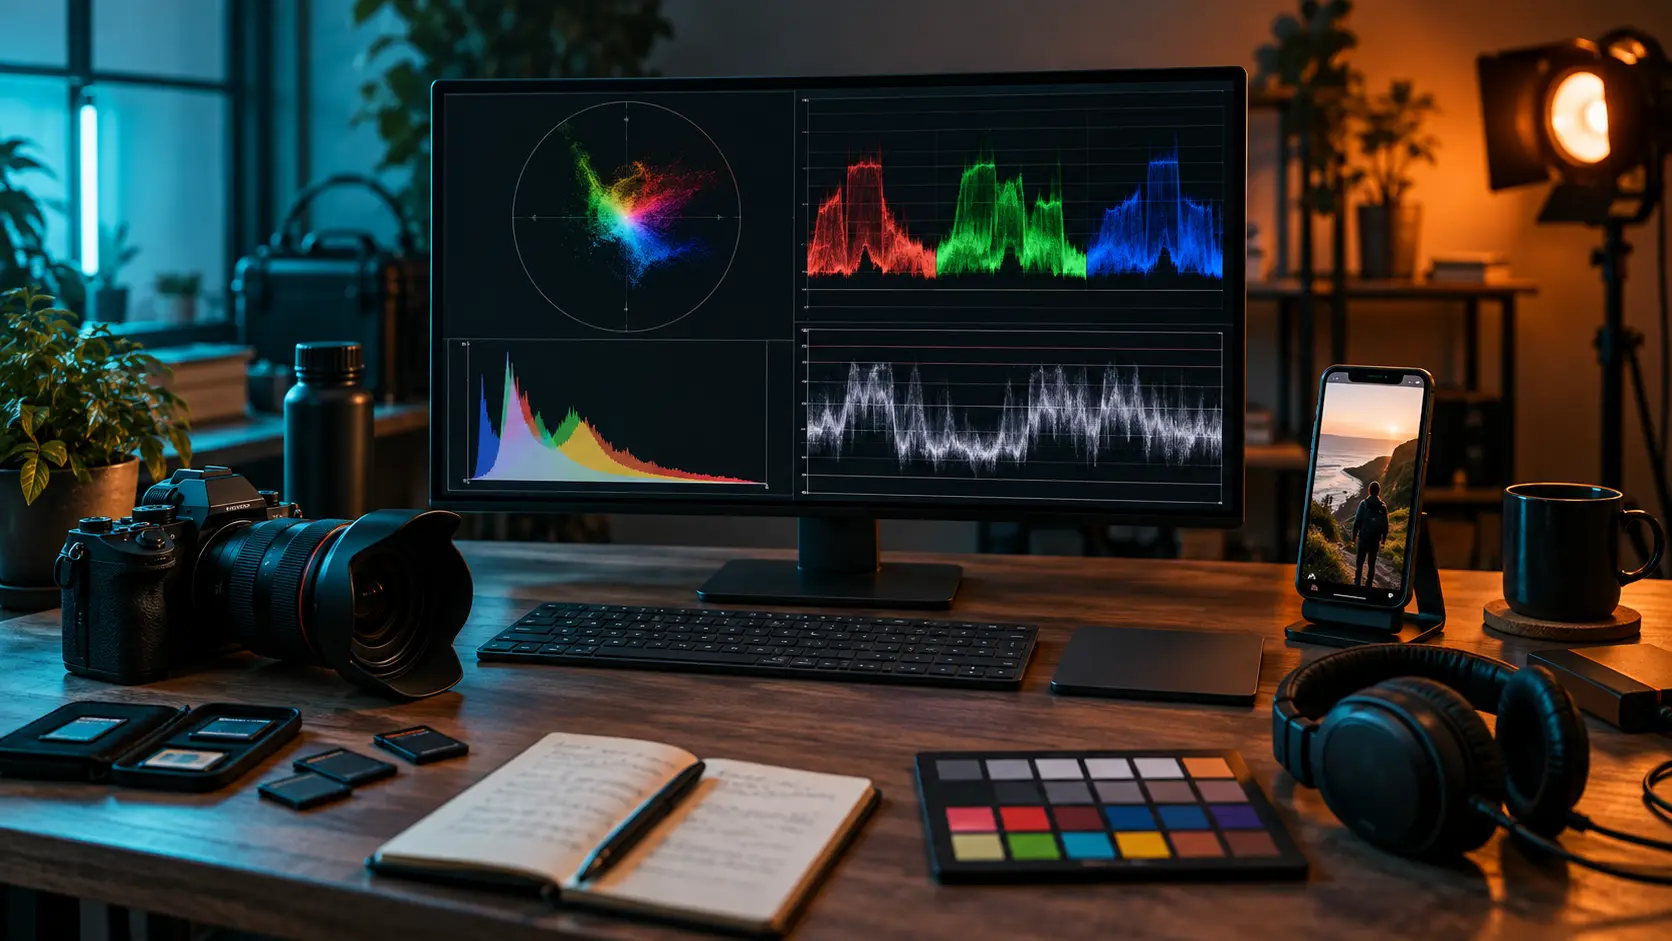
Export a clean master
Keep a high-quality clean master without platform watermarks, baked interface graphics or licensed music limited to one destination. From that master, create destination versions. Preserve camera originals and the project separately.
Container and codec are not synonyms. MP4 is commonly a container; H.264 and H.265 are video codecs. The AnyVid.io export decision guide explains the relationship and trade-offs. Use a widely supported combination unless a tested workflow requires another.
Match the timeline’s intended frame rate and aspect ratio. Avoid unnecessary generations of recompression. Export once from the edit master, then upload that file. If a platform produces a poor result, diagnose the source, timeline and export before repeatedly increasing bitrate.
HDR requires an end-to-end color-managed workflow. Mixed interpretation can create washed-out or overly dark results. The HDR upload troubleshooting guide provides a diagnostic pipeline. When reliability matters more than HDR, a controlled SDR master may be the safer choice.
Run quality control on the real device
Watch the entire export without scrubbing. Check the opening frame, final frame, audio start, spelling, sync, captions, disclosure, flashes, blank frames and accidental private information. Then watch on a phone using speakers and headphones.
Upload privately or as a draft where the platform supports it. Inspect compression, crop, caption placement, cover and audio. Do not assume the local preview predicts every transformation. Platform behavior changes, so date your presets and retest periodically.
Verify factual claims and links. Confirm that sources support the exact statement, not merely the general topic. Mark illustrative numbers as illustrative. Check that a sponsor-approved claim has not changed during editing.
Finally, confirm rights and archive records. Use AnyVid.io only for media you created, own, or have permission or another lawful right to save. A platform copy is not a substitute for a clean master or permission record.
Apply the standard to three production scenarios
Solo talking tutorial
Lock the phone, microphone and key light. Record a result example, then the delivery in short sections. Add close-up evidence after the main take. Edit for clarity, not constant motion, and verify captions against the final speech.
Outdoor demonstration
Monitor wind, changing exposure and background privacy. Secure equipment, record clean natural sound and capture a safety take with simpler camera movement. Review clips before leaving the location.
Product case study
Document test conditions, avoid unsupported claims and maintain matched comparison shots. Separate observation from inference. Disclose material relationships clearly and ensure the usage agreement covers every publication and paid-media plan.
The standard stays the same at its core: clear deliverable, intentional evidence, controlled capture, understandable edit, accessible text, tested export and recoverable records. Style remains flexible because the standard protects function rather than prescribing taste.
Frequently asked questions
What resolution should I record?
Use a resolution your device can sustain reliably and your workflow can edit without excessive delay. Higher resolution can allow reframing, but lighting, focus and compression still determine visible quality. Test the full path.
Is 24 fps or 30 fps better?
Neither is universally better. Choose a cadence suited to motion, lighting frequency, delivery and style, then keep the workflow consistent. Record high frame rates only when slow motion or action analysis requires them.
Should captions be burned into the video?
Burned captions guarantee the designed appearance but cannot be turned off or corrected by viewers. Platform caption tracks may offer better accessibility controls. Many creators use both carefully, avoiding duplicate overlapping text.
Why does an upload look softer?
Check focus, noise, motion, source resolution, repeated compression and export settings. Platforms transcode uploads; excessive detail or noise can consume available bitrate. Compare a short controlled test before changing everything.
Can one master serve both Reels and TikTok?
A clean 9:16 master often can, but captions, overlays, music rights, cover behavior and context may need destination-specific versions. Avoid transferring visible watermarks.
How often should presets be reviewed?
Review after software, camera or platform changes and at a regular interval. Date each preset, keep a known test clip and replace advice that depends on old interfaces.
Production checklists by stage
Before leaving for the shoot
Confirm brief, shot list, releases, location access, weather, transport and contact numbers. Charge devices, clear tested storage and pack the minimum backup for the most damaging failure: power, memory, microphone connection or mounting. Open the camera application and verify that an overnight update did not reset frame rate, resolution or audio selection.
Before the first full take
Clean the lens, stabilize the rig and frame for current safe areas. Check background privacy, reflections and brand marks. Record ten seconds of normal performance, then watch with headphones and at full image size. Confirm focus, exposure, white balance, flicker, microphone routing and sync. This test is part of production, not wasted time.
Before moving a setup
Compare the shot list with actual files. Confirm the opening, proof, close detail, transition and clean result. Record room tone. Photograph light and prop positions if the scene may need to be rebuilt. Mark the strongest take and note any unresolved problem while everyone remembers it.
Before export
Watch the locked edit, verify captions and inspect the first and final frames. Check that graphics remain inside safe margins, licensed assets match the destination and disclosures are visible. Confirm sequence dimensions, frame rate, color space, audio routing and filename. Export from the approved timeline, not an autosave or review copy.
Before publication
Watch the exported file on a phone. Upload privately or as a draft if possible and inspect the platform result. Check cover crop, caption, link, tag, disclosure and audio. Confirm that no internal note, client data or location detail appears accidentally. Archive the exact published file and copy.
Maintain a known test project
Create a thirty-second test sequence containing a face, fine texture, rapid motion, shadow detail, bright highlight, spoken voice, music, captions and a simple color chart. Keep the camera originals and a trusted master. When editing software, phone hardware or export settings change, run the same sequence through the workflow.
Compare results on the same displays and listening devices. Look for motion cadence, color shifts, crushed shadows, clipped highlights, text edges, audio sync and compression artifacts. Record the software version, settings and date. This controlled project is more informative than comparing unrelated videos whose lighting and movement differ.
Do not mistake the test for a universal platform benchmark. It measures your current path under specific conditions. Platform transcoding can vary, and a test uploaded today may behave differently later. Its value is early warning: if captions move outside the frame or an export becomes washed out after an update, you can isolate the change before client work is affected.
Retire presets that no longer pass. Keep their history so older projects remain understandable, but mark one current approved baseline. A folder full of unnamed presets increases risk; one dated baseline plus documented exceptions makes quality repeatable.
Create a simple team handoff standard
Even a two-person team needs a shared definition of ready. The producer should hand the editor a locked brief, selected takes, shot notes, approved pronunciation, rights status, caption language and destination requirements. The editor should not have to search multiple message threads to learn which product color is accurate or which claim was removed.
Use proxy or source files consistently and keep a relinkable folder structure. Record whether color has already been transformed and whether audio is camera reference or final. If an external editor receives only compressed review clips, state that they are not masters.
Review copies should contain a visible version identifier outside the publishable image when possible. Collect feedback in one place and require time-specific notes. Resolve conflicting comments through the named approval owner rather than letting the editor guess whose preference wins.
At completion, return project files, masters, caption files, graphics, licenses and a short export note. Confirm that the archive opens on a second system. Remove temporary transfers only after verified delivery and in accordance with retention and privacy obligations.
A handoff standard may feel administrative, but it protects creative intent. When everyone can trust the files and decisions, discussions can focus on whether the story works instead of locating missing media.
Document intentional exceptions
A standard should permit deliberate exceptions. Handheld motion may serve urgency; clipped highlights may express a memory; silence may be the point. Write the reason on the shot card and confirm that the exception supports the story rather than covering a mistake.
Test exceptions with the same seriousness as the baseline. A dark scene must remain understandable on ordinary phones. Fast captions must remain readable. Distorted sound should not create painful playback. If the audience cannot perceive the intention, revise the execution.
After publication, review whether the exception worked. Add useful discoveries to the standard while resisting rules based on one result. The document should evolve through controlled experience, not trend anxiety.