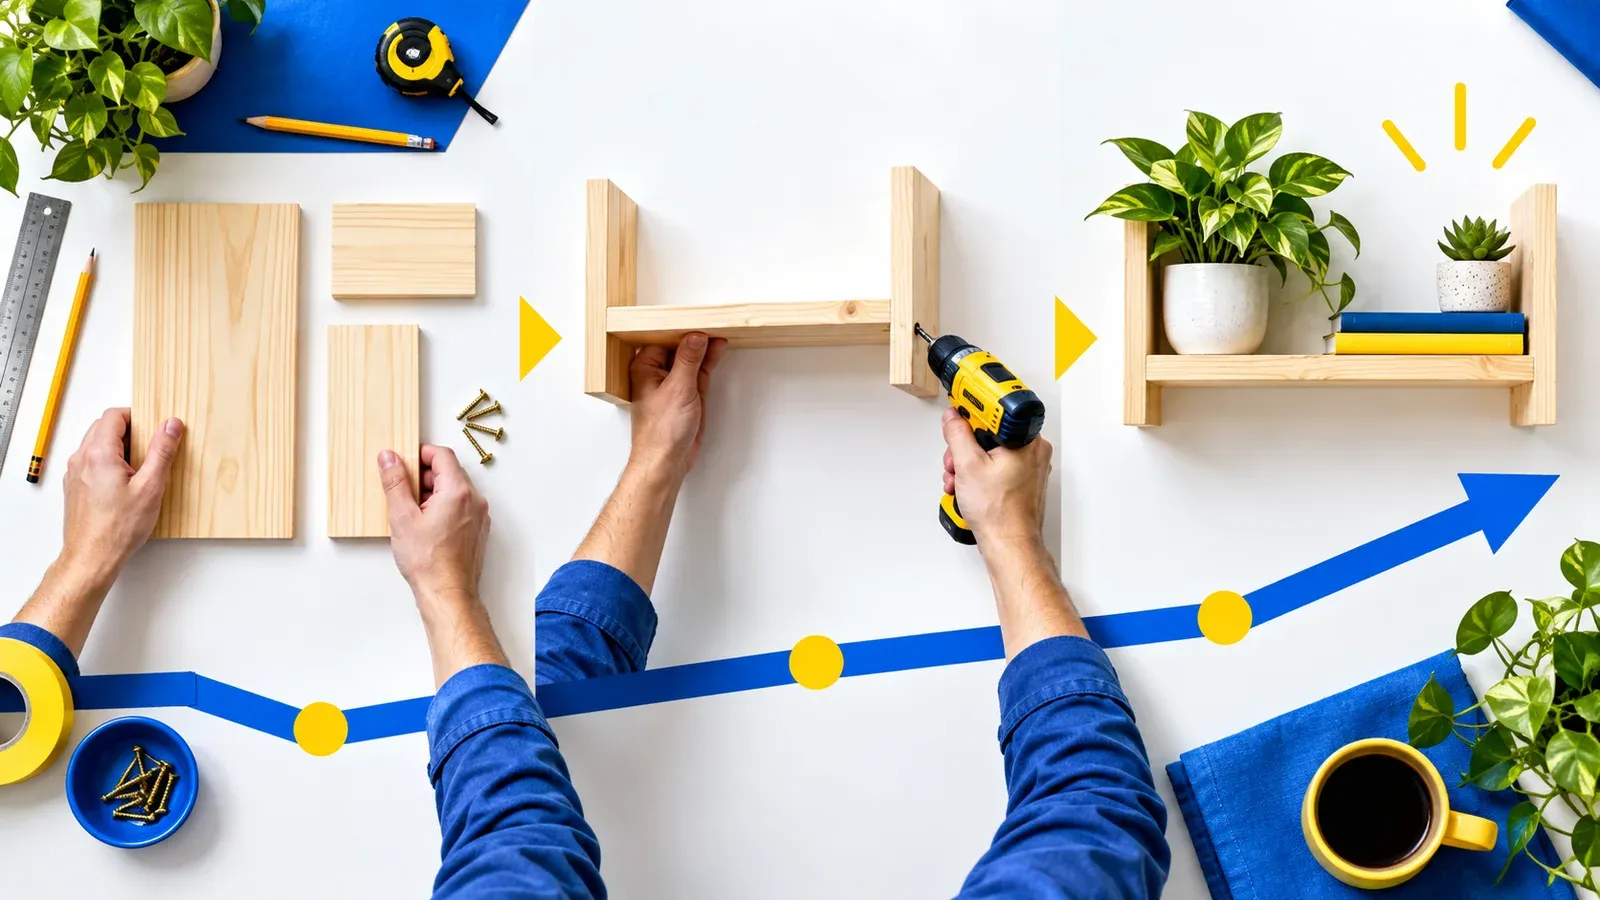
Solo B-roll often fails in the edit for a boring reason: every clip is the same kind of beautiful. Five close-ups of hands may look polished, but none tells the viewer where the action happens, how one step leads to another or when the process is finished. Coverage is the difference between attractive fragments and a sequence.
The six-shot system in this tutorial is deliberately small: orientation, medium action, close detail, overhead process, transition and result. It works with a phone, a stable support and controlled repetition. The point is not to capture exactly six clips forever; it is to make sure each angle performs a different editorial job.
Define the action before the angles
Write the process as a beginning, change and visible end state. That sounds simple until a real deadline compresses the choices. The practical move is to decide what the viewer must notice, what the creator must preserve, and what can safely vary. Write those three things beside the project before changing tools or adding polish. A visible decision is easier to review than an instinct remembered after publishing.
Choose the one action the B-roll must help the viewer understand. Test the idea on the roughest useful version, not on a finished piece that is expensive to change. Watch it once as a viewer and once as an editor. During the viewer pass, note confusion without stopping. During the editor pass, trace each confusing moment back to a shot, sentence, transition or missing piece of evidence.
Remove decorative shots that compete with the result or create continuity problems. There is a trade-off here. Consistency reduces effort and helps recognition, but too much consistency can hide weak thinking. Keep the part that carries meaning stable; vary the part that merely expresses it. This gives the workflow a backbone without turning every post into a duplicate of the last one.
Shot one: orientation
Show the workspace, subject and relevant tools in one stable wide frame. A common failure is to optimize the visible symptom while leaving the cause untouched. Before acting, name the audience, the job they are trying to complete and the proof they receive. If those three elements do not agree, a more attractive edit may improve appearance while making the communication less honest.
Keep the creator’s movement readable without hiding behind foreground decoration. Treat the result as evidence rather than a personal grade. Record what changed, the conditions around the change and what you expected to happen. That note lets you compare similar projects later without inventing a story around one unusually strong or weak result.
Capture a clean moment before the action begins for easier editing. The checkpoint should be quick enough to survive ordinary production. If it requires a perfect studio, a large team or an hour of analysis for every post, it will disappear when work gets busy. Reduce it to a repeatable question, a visible artifact and a clear pass condition.
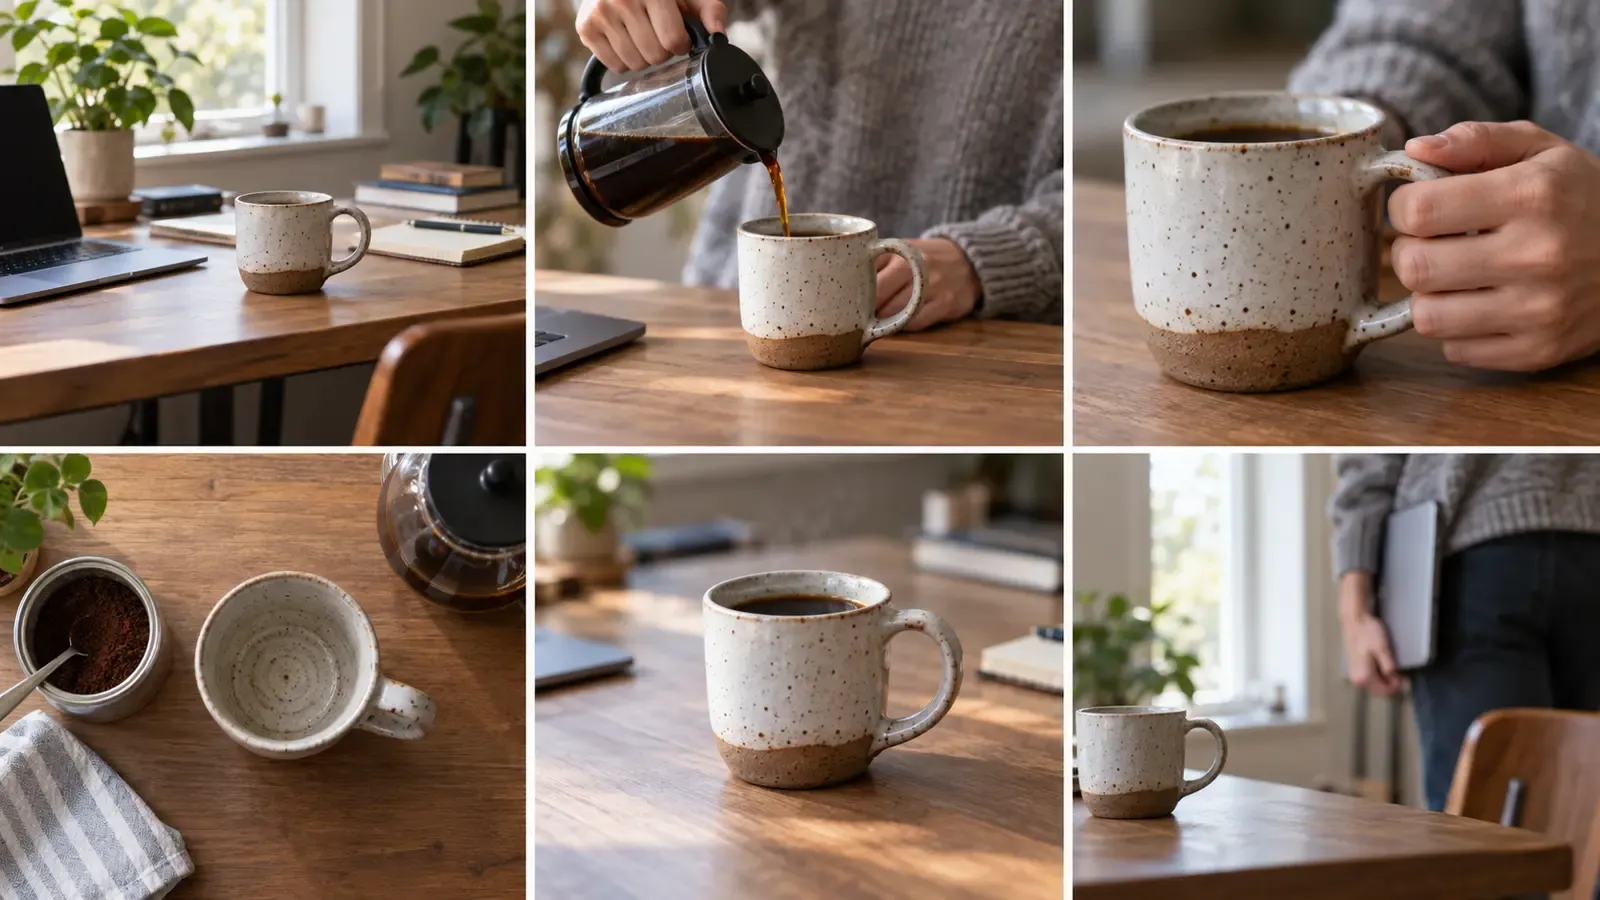
Shot two: medium action
Frame hands, torso and object closely enough to read the main movement. Ask a second person to explain what they think the piece promises before you tell them your intention. Their wording is useful even when you disagree. It reveals what the material communicates without the creator's private context, which is exactly the gap that viewers face.
Repeat the action at a consistent pace and preserve screen direction. That sounds simple until a real deadline compresses the choices. The practical move is to decide what the viewer must notice, what the creator must preserve, and what can safely vary. Write those three things beside the project before changing tools or adding polish. A visible decision is easier to review than an instinct remembered after publishing.
Leave handles before and after the movement so cuts do not feel cramped. Test the idea on the roughest useful version, not on a finished piece that is expensive to change. Watch it once as a viewer and once as an editor. During the viewer pass, note confusion without stopping. During the editor pass, trace each confusing moment back to a shot, sentence, transition or missing piece of evidence.
Shot three: close detail
Choose the single detail that proves precision, texture or transformation. There is a trade-off here. Consistency reduces effort and helps recognition, but too much consistency can hide weak thinking. Keep the part that carries meaning stable; vary the part that merely expresses it. This gives the workflow a backbone without turning every post into a duplicate of the last one.
Lock focus and exposure before touching the object. A common failure is to optimize the visible symptom while leaving the cause untouched. Before acting, name the audience, the job they are trying to complete and the proof they receive. If those three elements do not agree, a more attractive edit may improve appearance while making the communication less honest.
Avoid using so many close-ups that the viewer loses spatial context. Treat the result as evidence rather than a personal grade. Record what changed, the conditions around the change and what you expected to happen. That note lets you compare similar projects later without inventing a story around one unusually strong or weak result.
Shot four: overhead process
Use a secure mount and confirm that equipment cannot fall into the work area. The checkpoint should be quick enough to survive ordinary production. If it requires a perfect studio, a large team or an hour of analysis for every post, it will disappear when work gets busy. Reduce it to a repeatable question, a visible artifact and a clear pass condition.
Arrange tools so the process reads clearly from above. Ask a second person to explain what they think the piece promises before you tell them your intention. Their wording is useful even when you disagree. It reveals what the material communicates without the creator's private context, which is exactly the gap that viewers face.
Watch hands entering and leaving frame to prevent accidental jump cuts. That sounds simple until a real deadline compresses the choices. The practical move is to decide what the viewer must notice, what the creator must preserve, and what can safely vary. Write those three things beside the project before changing tools or adding polish. A visible decision is easier to review than an instinct remembered after publishing.
Shot five: transition
Capture a motivated movement that can connect two stages. Test the idea on the roughest useful version, not on a finished piece that is expensive to change. Watch it once as a viewer and once as an editor. During the viewer pass, note confusion without stopping. During the editor pass, trace each confusing moment back to a shot, sentence, transition or missing piece of evidence.
Use doors, hands, pans or object movement only when they match the sequence. There is a trade-off here. Consistency reduces effort and helps recognition, but too much consistency can hide weak thinking. Keep the part that carries meaning stable; vary the part that merely expresses it. This gives the workflow a backbone without turning every post into a duplicate of the last one.
Record a simple static alternative in case the stylized transition distracts. A common failure is to optimize the visible symptom while leaving the cause untouched. Before acting, name the audience, the job they are trying to complete and the proof they receive. If those three elements do not agree, a more attractive edit may improve appearance while making the communication less honest.
| Check | What to inspect |
|---|---|
| 1 | Capture a motivated movement that can connect two stages. |
| 2 | Use doors, hands, pans or object movement only when they match the sequence. |
| 3 | Record a simple static alternative in case the stylized transition distracts. |
Shot six: result
Show the finished state with enough time for the viewer to inspect it. Treat the result as evidence rather than a personal grade. Record what changed, the conditions around the change and what you expected to happen. That note lets you compare similar projects later without inventing a story around one unusually strong or weak result.
Match the result to the promise rather than switching to a generic reaction. The checkpoint should be quick enough to survive ordinary production. If it requires a perfect studio, a large team or an hour of analysis for every post, it will disappear when work gets busy. Reduce it to a repeatable question, a visible artifact and a clear pass condition.
Capture one clean hero version and one practical in-use version. Ask a second person to explain what they think the piece promises before you tell them your intention. Their wording is useful even when you disagree. It reveals what the material communicates without the creator's private context, which is exactly the gap that viewers face.
Film and log the sequence
Secure tripods, overhead arms, cables, heat sources and sharp tools before performing. That sounds simple until a real deadline compresses the choices. The practical move is to decide what the viewer must notice, what the creator must preserve, and what can safely vary. Write those three things beside the project before changing tools or adding polish. A visible decision is easier to review than an instinct remembered after publishing.
Use a shot checklist and mark successful takes to reduce unnecessary repetition. Test the idea on the roughest useful version, not on a finished piece that is expensive to change. Watch it once as a viewer and once as an editor. During the viewer pass, note confusion without stopping. During the editor pass, trace each confusing moment back to a shot, sentence, transition or missing piece of evidence.
Back up owned footage and keep releases or permissions with the project. There is a trade-off here. Consistency reduces effort and helps recognition, but too much consistency can hide weak thinking. Keep the part that carries meaning stable; vary the part that merely expresses it. This gives the workflow a backbone without turning every post into a duplicate of the last one.
Illustrative case study: the mug sequence with no middle
A ceramic artist films a finished mug, a close-up of glaze and a slow pan across the studio. The clips are attractive, but the edit cannot explain how the handle was attached. The only process shot is so tight that viewers cannot see the hand position or orientation of the cup.
On the reshoot, the artist captures the six jobs: wide workspace, medium attachment action, close-up of scoring clay, overhead assembly, a hand-wipe transition and the fired result. She repeats only the attachment step, using a practice piece so the final work is not damaged for coverage.
The result is not described with fabricated engagement statistics. The improvement is visible in the edit: each cut answers a different spatial or procedural question. The six-shot list works because it was derived from the viewer’s need, not because six is a magic number.
Keep a working record
A lightweight record makes this process teachable. Save the brief, first draft, decisive changes, permissions or source notes, final export and one paragraph about the outcome. For solo creators who return from filming with attractive clips that do not edit into a clear sequence, that record is more valuable than a folder full of unnamed versions because it shows why a choice was made.
Keep rejected options too, especially when they looked attractive but weakened the audience promise, exceeded the budget or created a rights problem. A short reason is enough. Over several projects, these notes reveal recurring friction and help separate a workflow problem from a one-off production accident.
Review the record after the agreed observation window. Mark what you know, what remains uncertain and what deserves another test. Do not rewrite the original hypothesis to make the outcome seem predictable. Honest notes protect the usefulness of both successful and disappointing work.
Choose the next useful step
Apply the framework to one active project before expanding it into a larger system. The first pass should expose a concrete decision, not create more administration. Read Diagnose Short-Form Video Retention Without Chasing Benchmarks. Read Design Instagram Reel Covers That Survive Every Crop. Browse the AnyVid.io blog for related creator education. When reference media is involved, use only media you created, own, or have permission or another lawful right to save.
Frequently asked questions
Do I need six separate cameras?
No. One phone or camera is enough. Lock the setup, repeat controllable actions and move the camera safely between takes. Protect continuity by keeping object position, hand direction, wardrobe and lighting stable.
What if an action cannot be repeated?
Prioritize the angle that best explains the irreversible moment, then capture setup and result separately. Do not recreate unsafe actions for coverage. A second operator or additional locked camera may be justified for unique events.
How long should each B-roll clip be?
Long enough to include a clean start, readable action and clean end. The useful duration depends on the movement and edit. Record extra handles so the editor is not forced to cut at the instant a hand enters frame.
Can I use digital zoom for detail shots?
A separate physical close-up usually gives better control, but device capability and safety matter. Avoid moving so close that focus, lighting or the action becomes unstable. Test the exported result rather than assuming magnification equals useful detail.
How do I keep continuity while filming alone?
Photograph the setup, mark object positions, keep a simple shot log and repeat actions in the same direction. Check clothing, prop placement, fill level and light between angles. Continuity notes save more time than relying on memory.
Was this article helpful?
Tell us what worked so we can improve future content.